PCOMP Week 2
I/O, basic Arduino
This week, we introduce basic I/O with Arduino programming! It sounds funny, but this week’s work is way more intuitive to me than last week’s. Let’s start off with the basics.
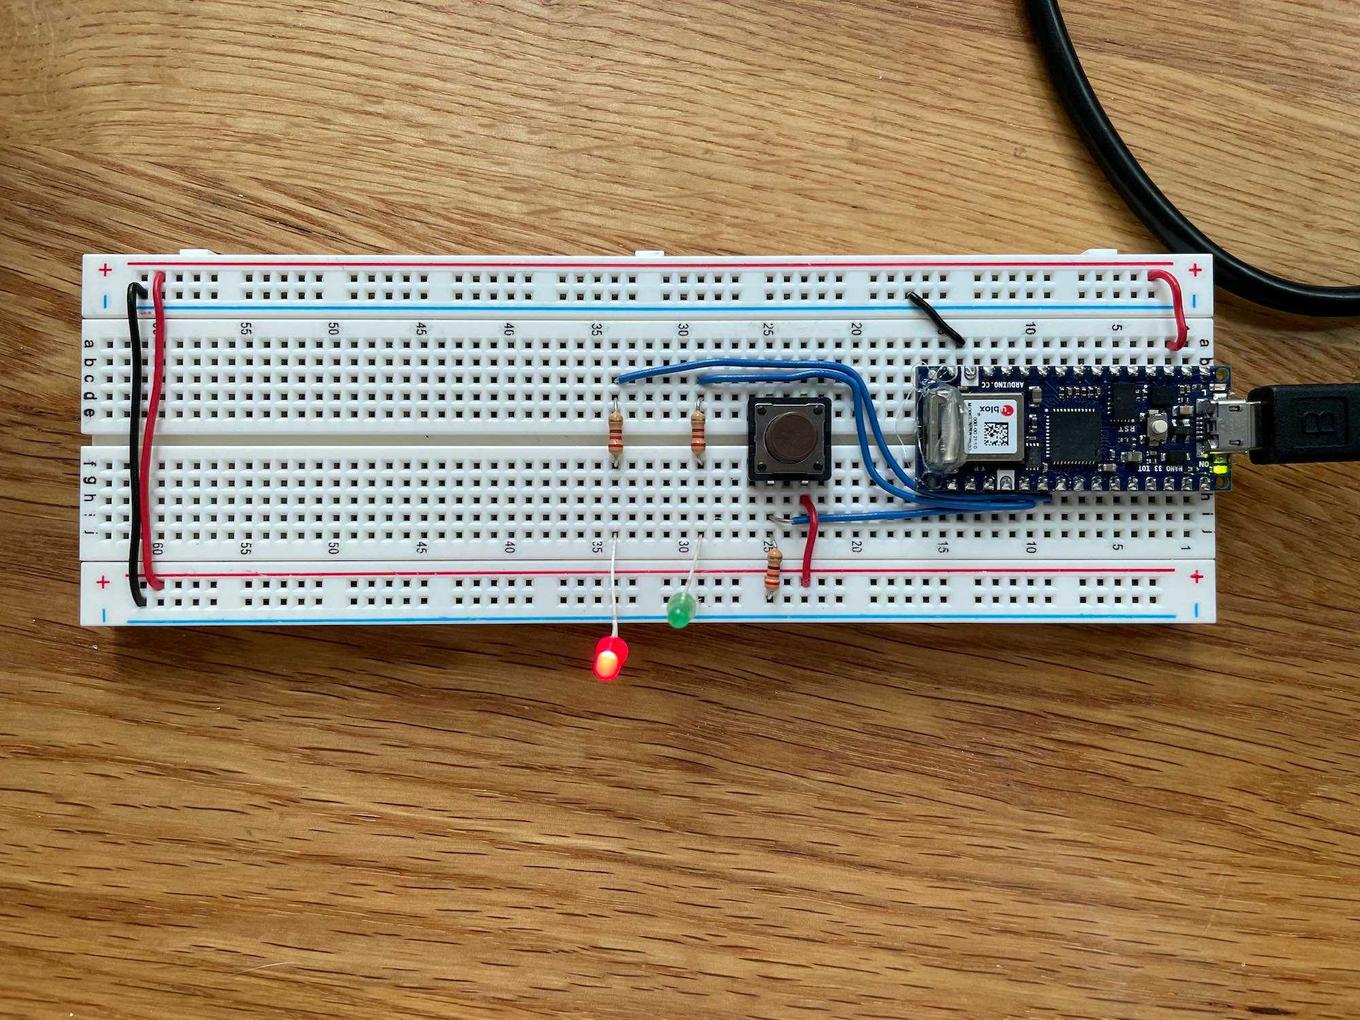
First up, let’s make a button that switches between LEDs.
This basic circuit allows a button to control which of two LEDs are lit. See a little demo below:
Ok, so that’s a pretty simple digital input. Onward to analog input! First up, something we’re already familiar with: a potentiometer.
And now, a new analog input. I chose to use a phototransistor for my explorations here. This actually made some things way more difficult … phototransistors measure light, which means ambient light can affect your readings as time goes by (for example, when the sun goes down, or when I moved the board from my well-lit desk to my dark couch).I had a little inkling of an idea about things occurring only when it’s night, so I hooked up a circuit to light up an LED when it gets too dark.
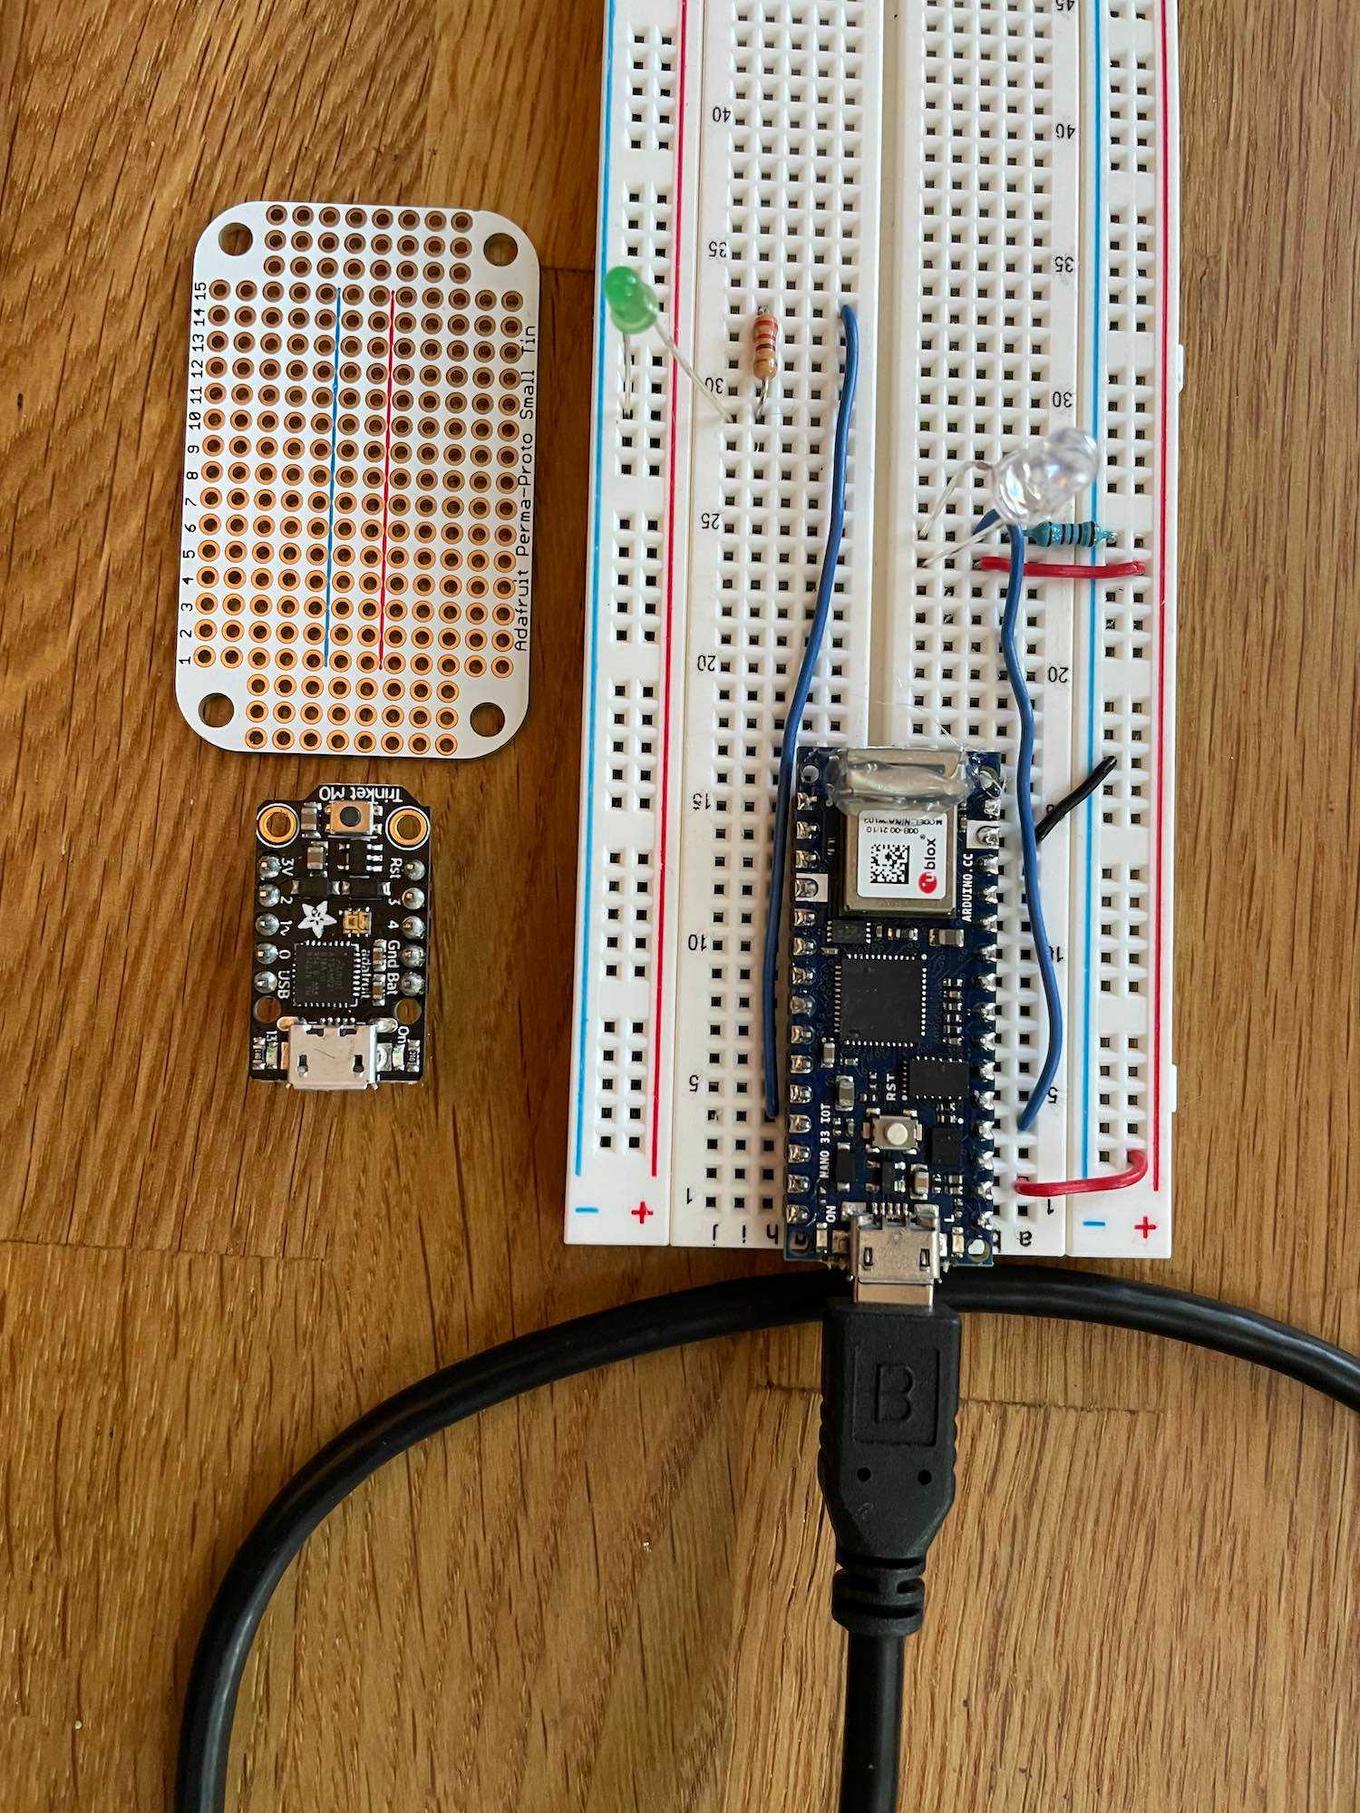
This is where I go down a bit of a rabbit-hole … I want to make a cute little forest scene piece where a miniature tent lights up at night. A sketch of this:In order to make this physically, I needed to move off the breadboard. I also sought a smaller, less powerful microcontroller to run this off of, and my partner Paul recommended using a Trinket M0 as a nice alternative. As you can see below, the Trinket has a much smaller footprint (and far fewer pins!).
So I re-built the circuit using the Trinket! The trinket came with CircuitPython on it, so I had to put Arduino on it instead, following the instructions here.
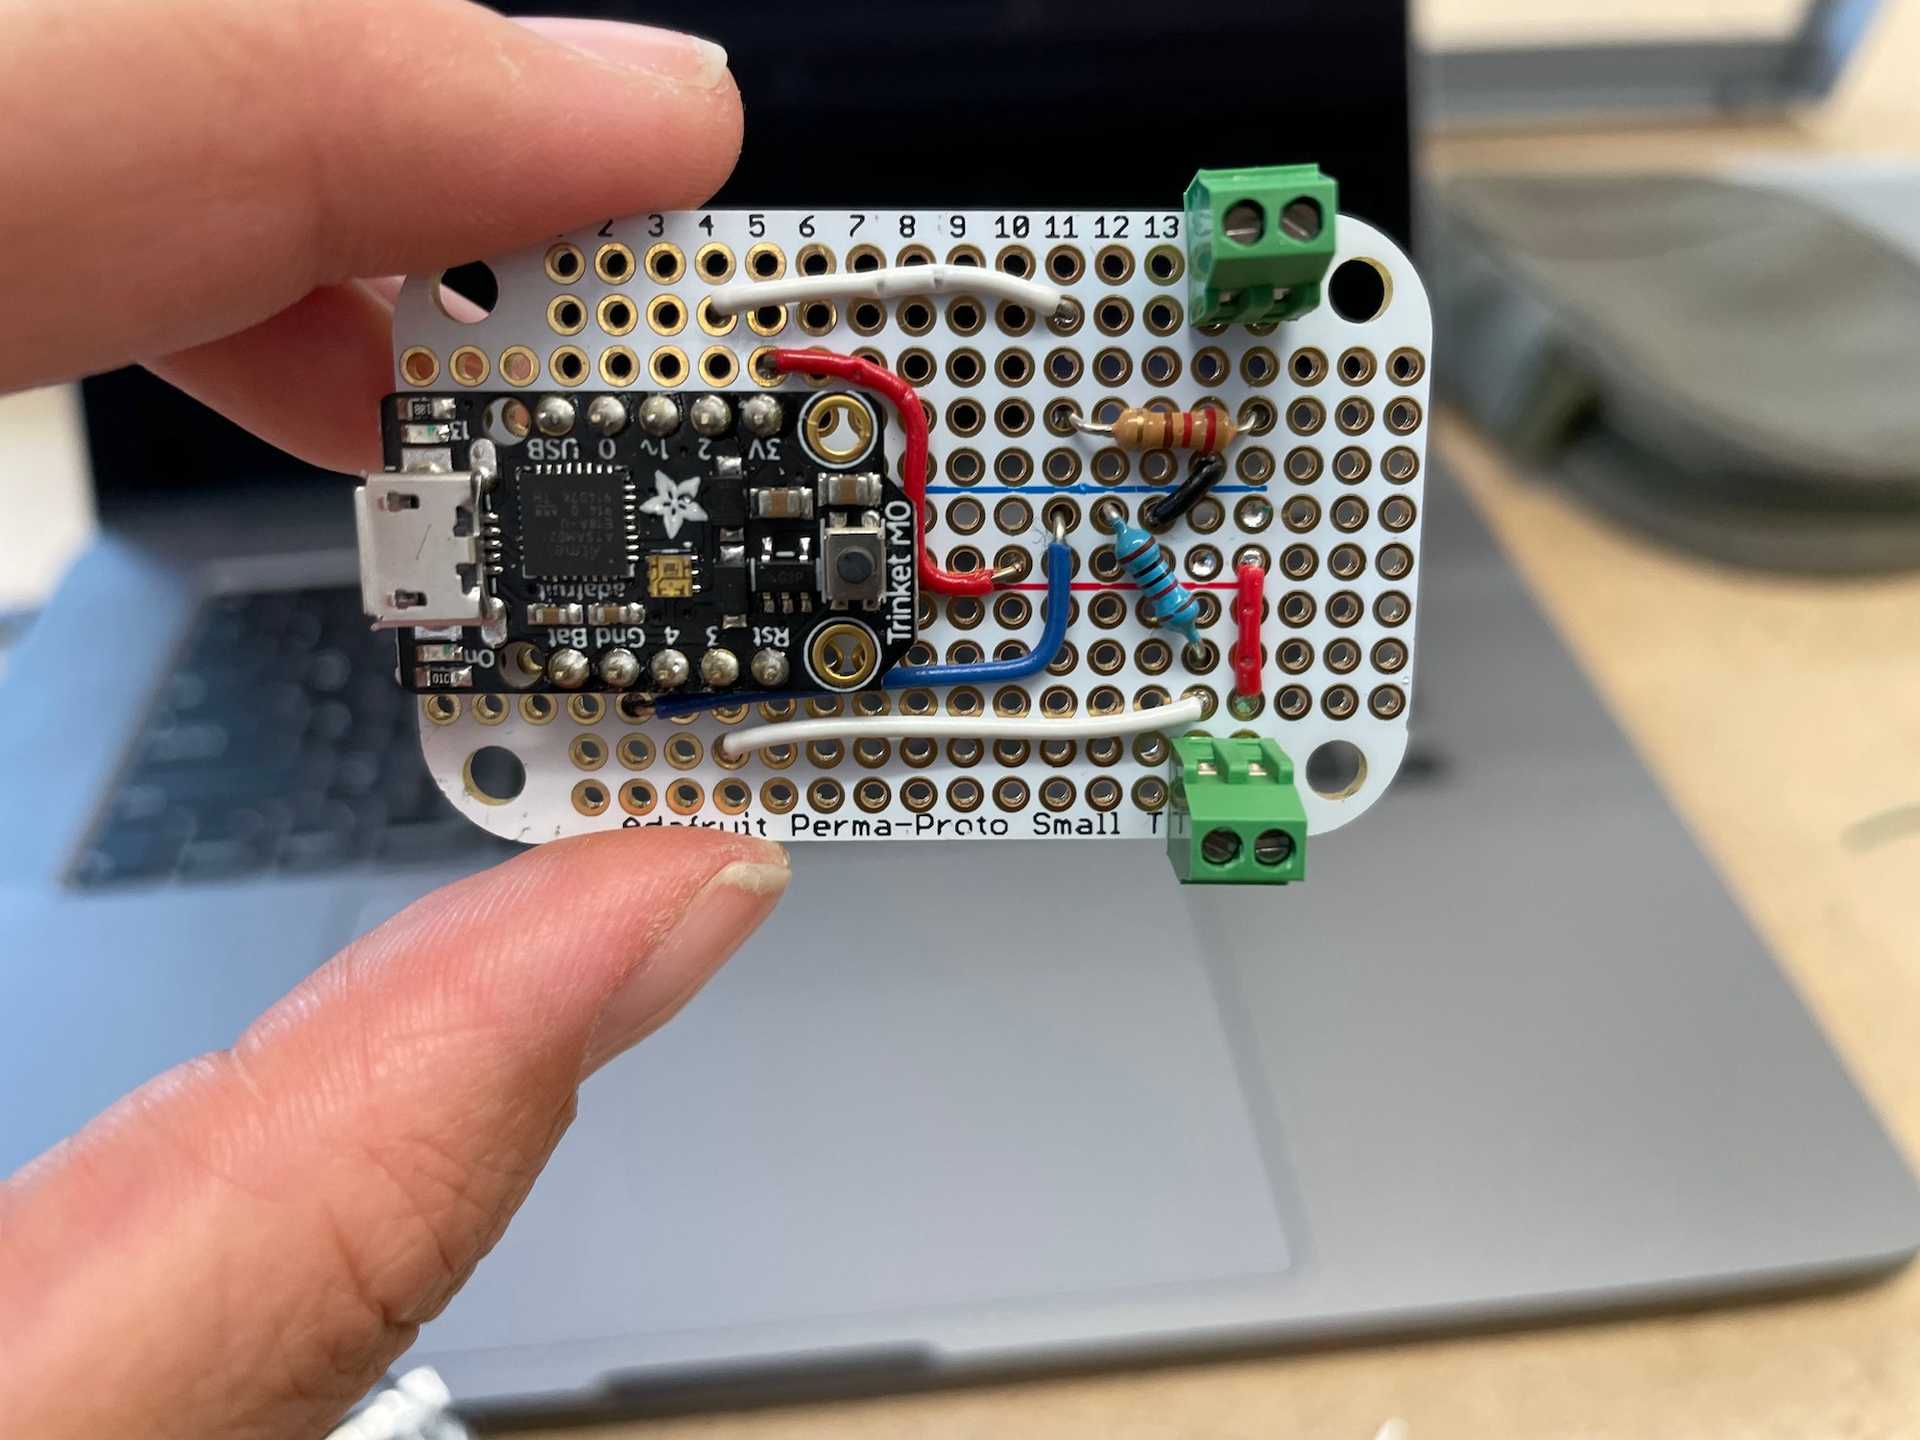
Next, I soldered this all to a PCB. This is the first time I’ve done this, so I learned the hard way that:
- the type of solder you use greatly affects how easy it is to solder
- holding things together is hard, but tape is pretty nice
- make sure you know what you want to solder to the board before you solder to the board
I also used a pair of screw terminals for the first time, which lets me connect the LEDs onto stranded wire to be loosely coiled inside of a box. The terminals also let me swap out the LEDs at will, since they don’t get soldered to the board.
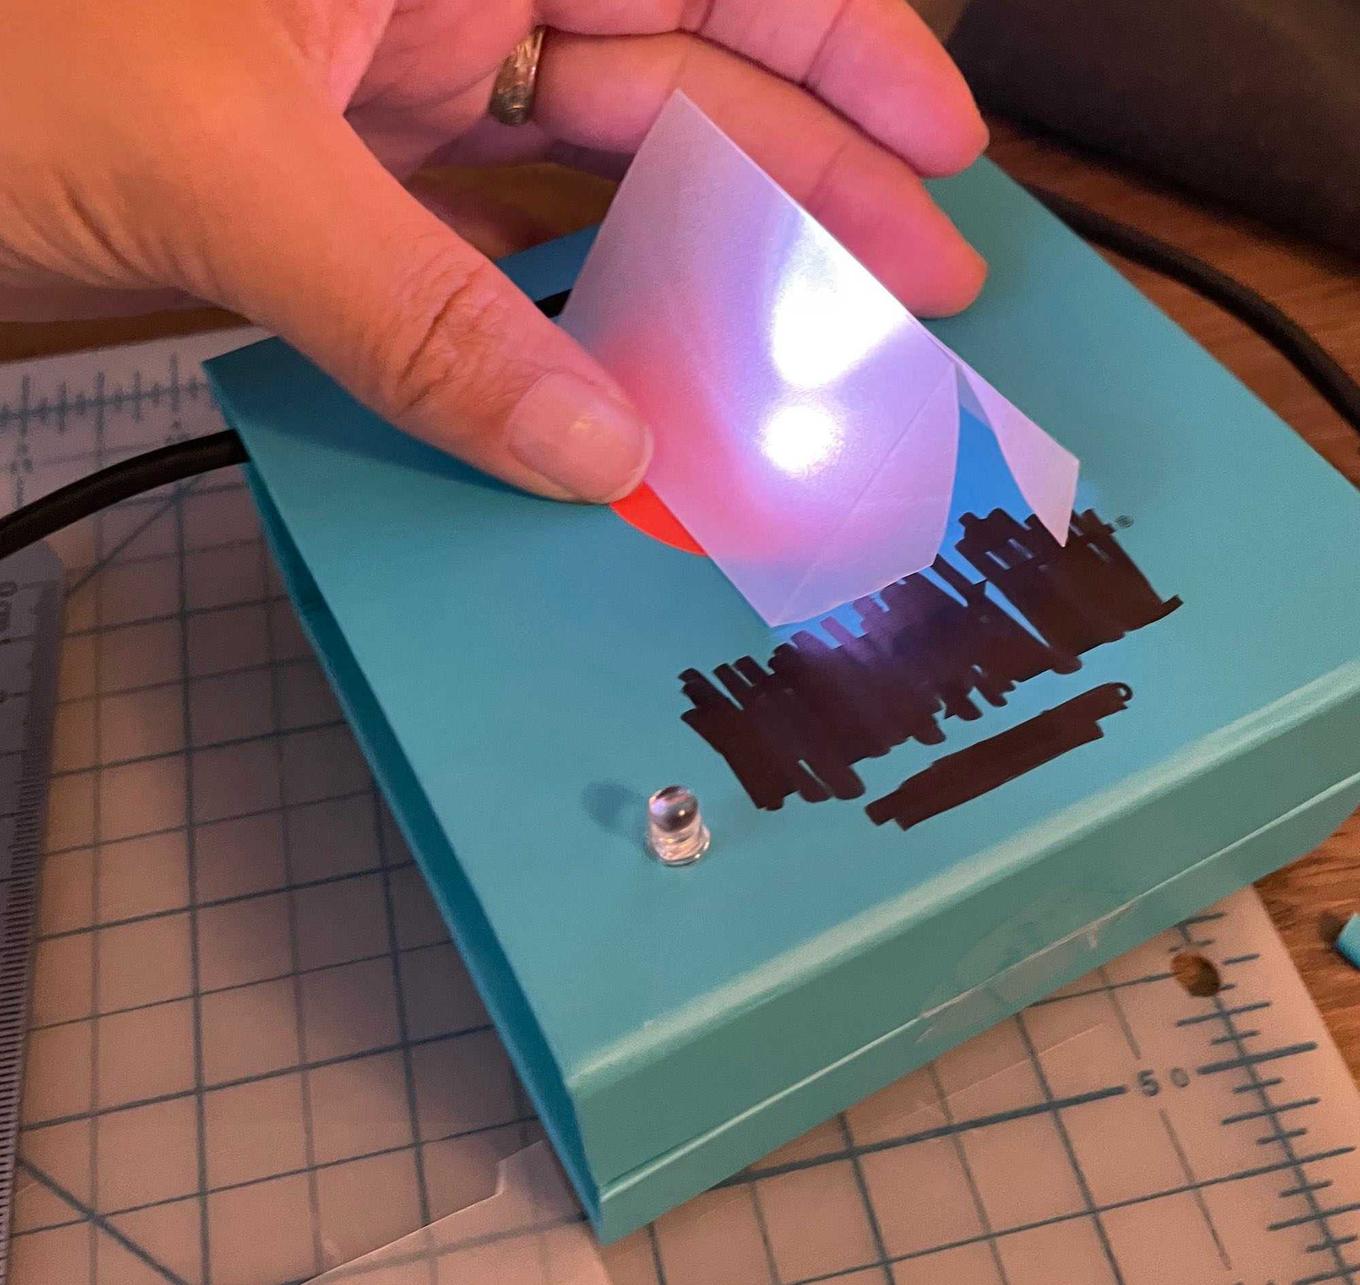
A quick test:
I didn’t have time to put together a final product, so this is just a prototype. I grabbed a spare box, cut two holes in it for the LED and the phototransistor, and put together this!
A little side note, the Trinket M0 comes with a nice LED built-in on the board! This LED is used to represent board statuses, but also by default is left on. In trying to figure out how to turn off the LED, I got a very brief introduction to the DotStar library and learned that there is a difference between a DotStar and a Neopixel LED.
- https://hackaday.io/project/9017-skywalker-lightsaber/log/72354-adafruit-trinket-m0-controlling-the-onboard-dotstar-led-via-arduino-ide
- https://forums.adafruit.com/viewtopic.php?f=25&t=124501&sid=21195cd2275abc7ba8a32912d47cff6f
Ok, back into the third lab; debouncing and noise!
The phototransistor made for a bit of difficulty here; there was a lot of noise in the raw data, and my numbers needed to be re-calibrated based on each of the ambient light states (day, night, on the floor, at home).
Here’s the raw data over <1s from the sensor

And here’s the peaks grabbed after de-noiseing, over >30s

Maybe a better representation of the de-noised peaks:

Code run:
int peakValue = 0;
int threshold = 20;   //set your own value based on your sensors
int noise = 5;        //set a noise value based on your particular sensor

void setup() {
  Serial.begin(9600);
}

void loop() {
  //read sensor on pin A0:
  int sensorValue = analogRead(A0);
  // check if it's higher than the current peak:
  if (sensorValue > peakValue) {
    peakValue = sensorValue;
  }
  if (sensorValue <= threshold - noise ) {
    if (peakValue > threshold + noise) {
      // you have a peak value:
      Serial.println(peakValue);
      // reset the peak value:
      peakValue = 0;
    }
  }
}
I’ll admit that despite my background in code, I rarely have had to do de-noising. I know that it’s extremely useful, but I still don’t quite grok it. I’ll have to do a bit more of this to understand it.
Tagged:
